
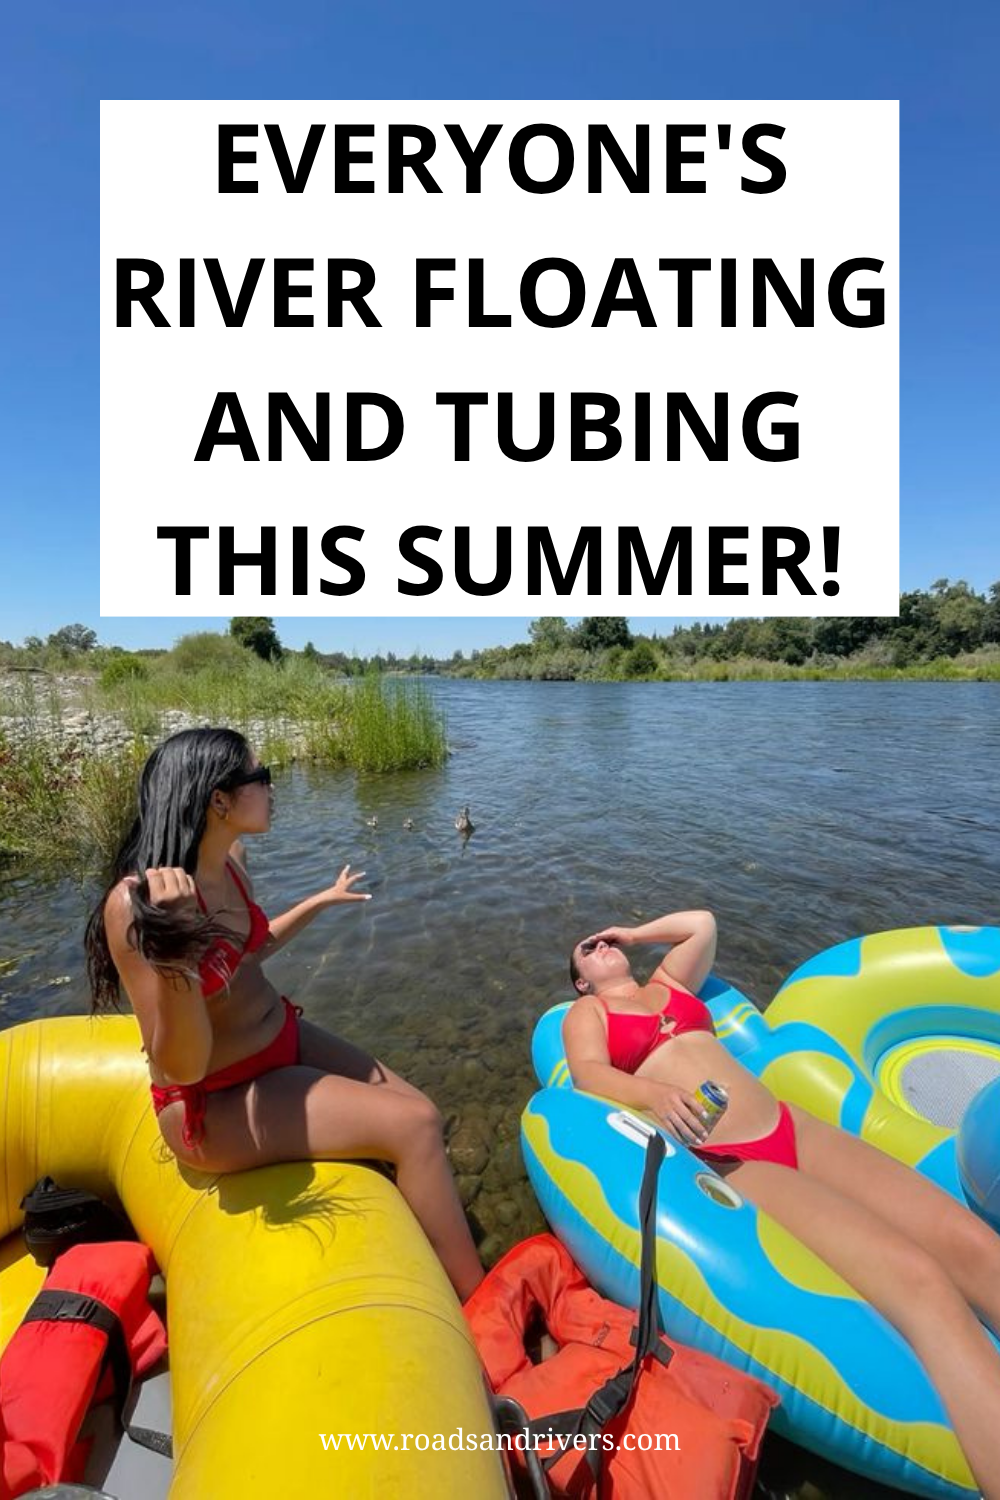
River floating and tubing is one of those rare outdoor activities that requires almost zero skill but delivers maximum joy. You sit in a tube. The river moves you. That’s it. No trails to navigate, no gear lists that take up half your suitcase, no athletic ability required. Just you, an inflatable tube, and a lazy stretch of moving water.
But here’s what nobody tells first-timers: there’s a difference between a good float and a great one. The difference isn’t luck. It’s knowing a handful of simple things before you get in the water. Things like what tube to actually buy, why cotton is your enemy, why your group will get separated (and how to prevent it), and what to do when you need to get out but the current has other plans.
This post covers the 10 tips that turn nervous beginners into river-floating regulars. Whether you’re planning your first lazy river tubing trip with friends or you’ve been curious about tubing on the lake versus a flowing river, this is everything you need to know.
Table of Contents
- What Pros Know About River Floating and Tubing
- The 3-Step Prep Guide Before Your First Float
- The Only River Floating and Tubing Packing List You Need
- Is River Tubing Safe for Total Beginners?
- 5 River Tubing Mistakes That Kill the Fun
- Nervous About Your First River Float? Read This.
- How River Floating and Tubing Changed Our Summers
- Everyone’s River Floating and Tubing This Summer (Here’s Why)
- Key Takeaways
- FAQ
What Pros Know About River Floating and Tubing
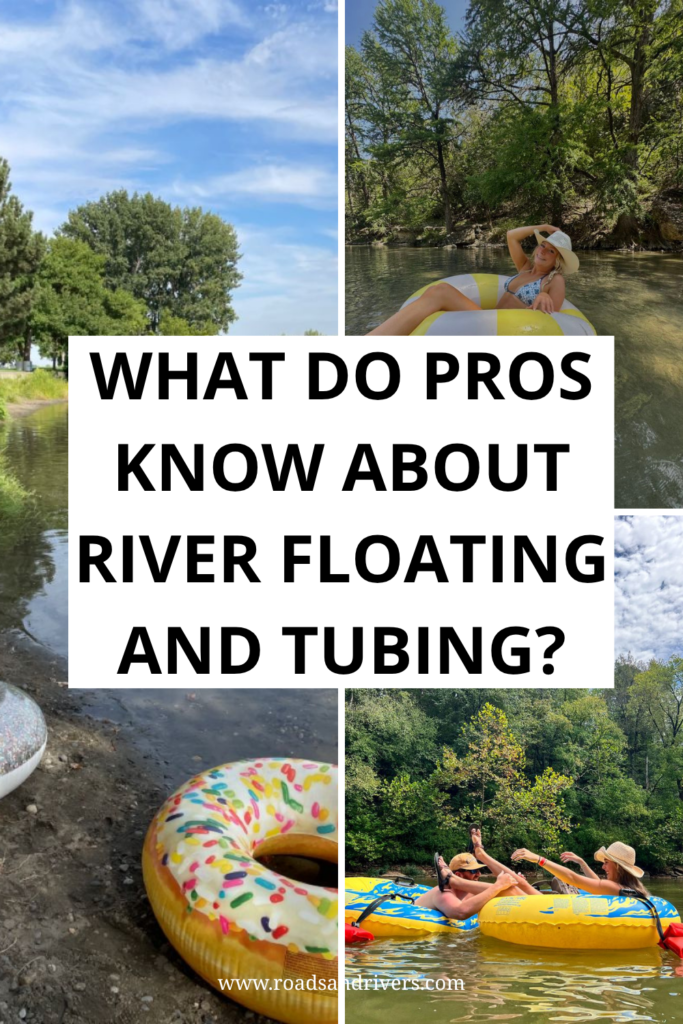
The people who float rivers every weekend don’t do anything fancy. They just know a few things that first-timers learn the hard way. Here’s what separates a seasoned river floater from someone who ends up sunburned, dehydrated, and stuck on a sandbar.
Choose the Right River, Not Just the Closest One
Not all rivers are created equal for tubing. What you want for your first float is a calm, slow-moving river with a clear put-in (where you get in) and take-out (where you get out) point. Class I rivers are perfect for beginners. They have minimal rapids, gentle currents, and wide channels that give you plenty of room to drift without stress. Class II can be fun but adds some light rapids that require a bit of maneuvering.
Pro tip: Check water levels before you go. If the water is too high, the current will be dangerously fast. If it’s too low, you’ll be dragging your bottom over rocks instead of floating. Most local outfitters post daily conditions on their websites using a color-coded system: green (good for everyone), yellow (experienced swimmers), red (closed).
Know Your Entry and Exit Points
This sounds obvious, but it’s the number one thing first-timers skip. You need to know exactly where you’re getting in and exactly where you’re getting out before you launch. Popular tubing rivers have designated entry and exit points, and rental companies provide maps. If you’re floating on your own, scout the route in advance or check with a local outfitter. Getting swept past your exit point because you weren’t paying attention is more common than you’d think.
The 3-Step Prep Guide Before Your First Float
First-time floaters tend to either over-prepare (bringing enough gear for a week-long camping trip) or under-prepare (showing up in jeans with a pool noodle). The sweet spot is simpler than you think.
Step 1: Get a Real River Tube
This is not the time for that cute donut float from the dollar store. Pool floats are made for calm, still water. Rivers have currents, rocks, branches, and the occasional surprise rapid. You need a tube that’s built for moving water: thick PVC or vinyl material that won’t puncture on the first rock, handles you can grab when the current picks up, and enough size to sit on the water instead of sinking into it.
Tubes with a mesh bottom, a backrest, and built-in cup holders exist, and they’re worth every penny. If you’re renting from an outfitter, you’ll be fine. If you’re buying your own, look for river-specific tubes from brands like Intex, Airhead, or retrospec. The giant inflatable unicorn your friend keeps suggesting? Leave it at the pool.
Step 2: Check the Conditions
Weather and water conditions will make or break your float. A sunny 85°F day with calm water levels is paradise. A cloudy day after heavy rain with a fast-rising river is a hard no. Check your local river’s flow rate (apps like RiverFlows work great), the weather forecast, and any advisories from local outfitters or park services. Thunderstorms can roll in fast, and a river that was calm in the morning can change by afternoon.
Step 3: Plan Your Logistics
Figure out transportation before you get on the water. You need a way to get back to your car after the current carries you downstream. Most outfitters offer shuttle services. If you’re going DIY, drop one car at the take-out point and drive the other to the put-in. Also estimate your float time. Most beginner-friendly routes take 2-4 hours depending on the river’s speed and the distance.
Pro tip: Add 30-60 minutes to whatever time estimate you find online. Rivers are slower than you think, and you’ll want to stop, swim, and hang out along the way.
The Only River Floating and Tubing Packing List You Need
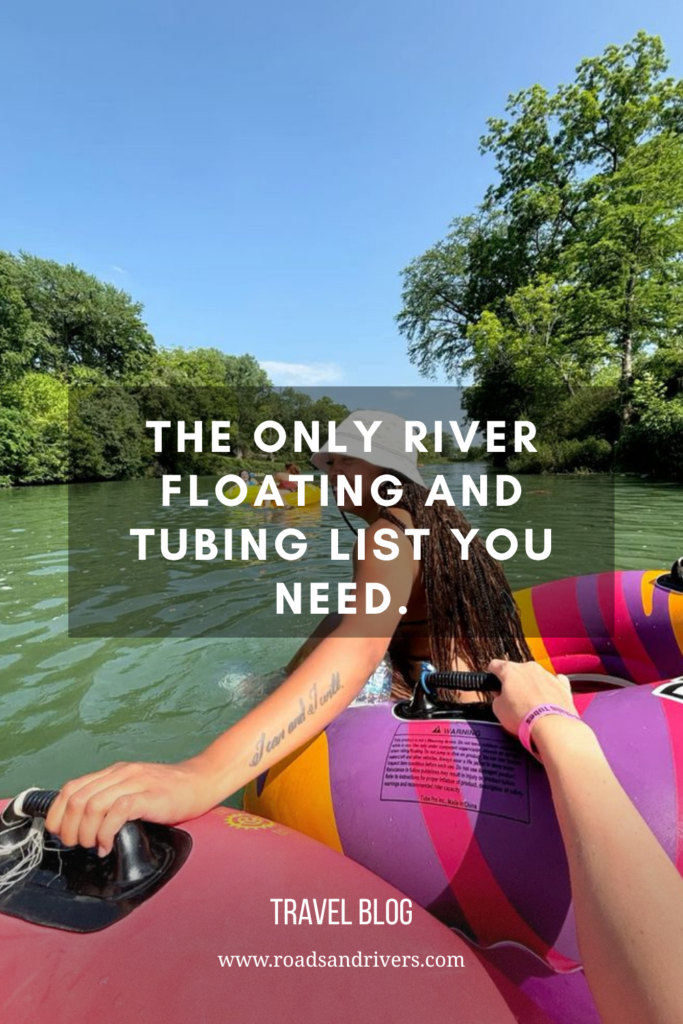
I’ve seen people show up to a river float with a full backpack and others show up with nothing but a swimsuit and regret. Here’s the list that sits right in the middle.
The non-negotiables: a swimsuit or quick-dry clothes (never cotton, it stays wet and cold), water shoes or sport sandals with straps (you will need to walk on rocks), sunscreen (SPF 30 or higher, reapply every 2 hours), a life jacket or PFD (especially for kids and non-swimmers), and a waterproof bag or dry bag for your phone, keys, and wallet.
The comfort upgrades: a hat with a chin strap (the river will take a loose hat), sunglasses with a retainer strap, a reusable water bottle, snacks in resealable bags, and a small tube repair kit (waterproof tape works in a pinch).
The group game-changers: a floating cooler or cooler that straps to a tube, rope or clips to tether tubes together, a portable Bluetooth speaker in a waterproof case, and a dry outfit plus towel waiting in the car for the ride home.
Pro tip: If you don’t really need it, don’t bring it. Rivers have swallowed phones, cameras, wallets, and sunglasses by the thousands. If you can’t clip it, strap it, or seal it in a dry bag, leave it in the car.
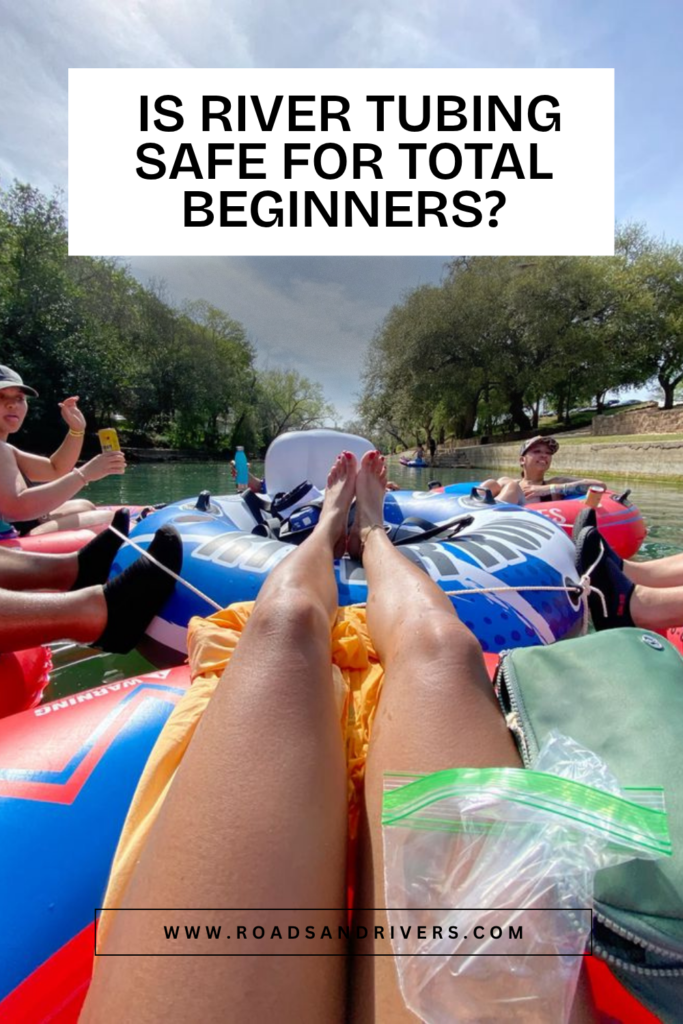
Is River Tubing Safe for Total Beginners?
Short answer: yes, as long as you respect the water and prepare even a little. River tubing on calm, Class I water is one of the most beginner-friendly outdoor activities you can do. You don’t need to be a strong swimmer (though basic swimming ability helps). You don’t need any experience. You don’t need expensive equipment.
What you do need is common sense and a few safety basics.
Always Wear a Life Jacket
I know. It doesn’t look cool. Wear it anyway. Even calm rivers have unexpected deeper sections, hidden currents near bends, and the occasional surprise. A properly fitted Type III life jacket keeps you upright and buoyant if you fall off your tube. Many states require them for children, and some rivers require them for everyone. Even if it’s not legally required, it’s the single smartest thing you can do on the water.
Never Float Alone
River floating is a group activity for a reason. You want someone with you in case something goes wrong: a popped tube, a twisted ankle on a slippery rock, or getting separated from the group. Tell someone on shore where you’re floating and when you expect to be back. Having a basic float plan (entry point, exit point, estimated time) can genuinely save your life in an emergency.
Stay in the Middle
For beginners, the middle of the river is the safest spot. You’re less likely to get snagged on a low-hanging branch, stuck in shallow water near the bank, or caught in eddies that form near the edges. The center typically has the most consistent current and the deepest water.
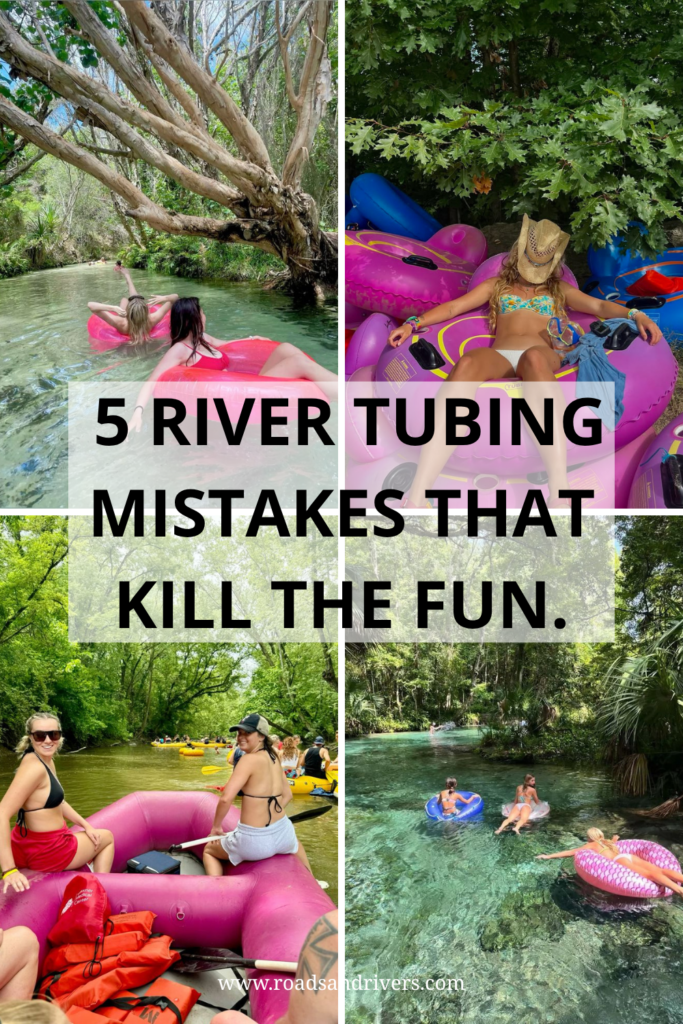
5 River Tubing Mistakes That Kill the Fun
I’ve made every one of these. Learn from my sunburned, dehydrated, scraped-up past.
1. Using a Pool Float on a River
That inflatable flamingo looks incredible in your backyard pool. On a river, it lasts about 20 minutes before the first rock turns it into a deflated pile of vinyl. Pool floats are made of thin material with no handles, no reinforcement, and no durability for moving water. Always use a tube or raft designed for river conditions. The price difference between a pool float and a real river tube is $15-$30. Your comfort and safety are worth it.
2. Skipping Sunscreen (or Applying It Once)
You’re on the water. The sun is reflecting off every surface, hitting you from every angle. A single application of sunscreen at the start of your float is not enough. You need to reapply every 90 minutes to 2 hours, especially after getting splashed or swimming. Waterproof sunscreen helps, but no sunscreen is truly “all-day.” A long-sleeve rash guard is even better for sustained protection without the reapplication hassle.
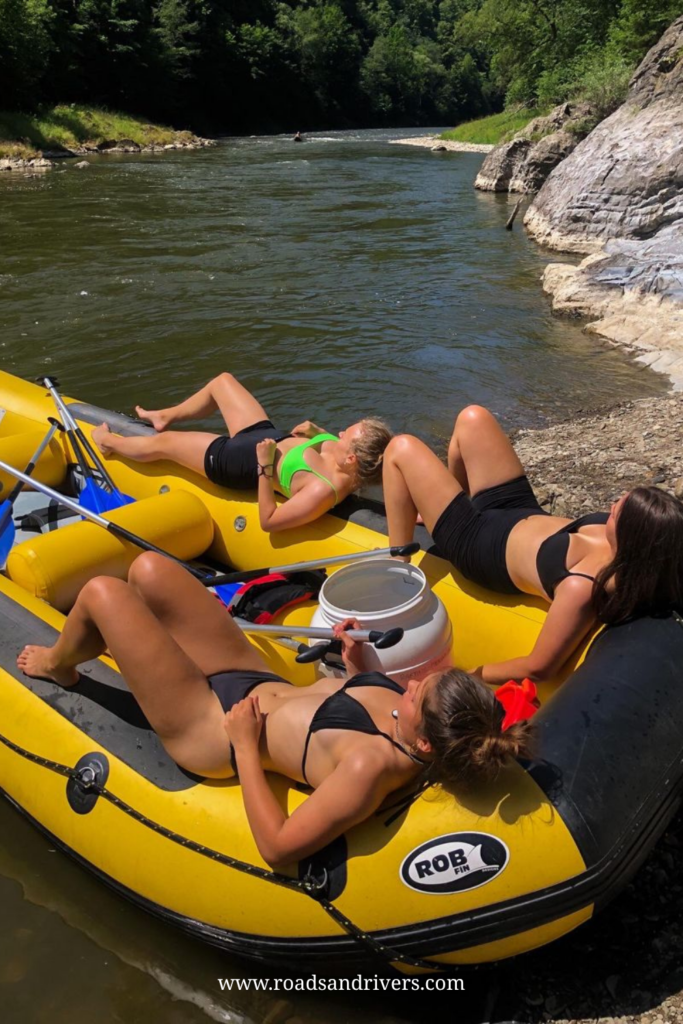
3. Wearing Cotton
Cotton absorbs water and stays wet. On a river, that means you’ll be cold, heavy, and uncomfortable for hours. Wear quick-dry synthetic materials or a swimsuit. If you want extra coverage, a synthetic rash guard or quick-dry shorts are perfect. Save the cotton T-shirt for the drive home.
4. Not Tethering Your Group Together
Rivers don’t care about your group chat. The current moves at different speeds in different parts of the channel, and within 10 minutes, your group of six will be spread across half a mile of river. Use short lengths of rope or carabiner clips to link tubes together. This keeps everyone close, gives everyone access to the cooler, and makes the whole experience more social. Just keep the ropes short. Long ropes can snag on underwater obstacles and cause real problems.
5. Forgetting Water and Snacks
This is the one that catches everyone off guard. You’re sitting on cool water, there’s a breeze, the sun feels nice. You don’t feel thirsty. But you’re dehydrating faster than you think. The combination of sun exposure, physical activity (yes, even floating counts), and often alcohol means your body needs more water than usual. Bring at least one liter of drinking water per person for every two hours on the river. Pack snacks too. Low blood sugar on a river with no exit point for another hour is no fun.
Pro tip: Freeze water bottles the night before. They’ll stay cold for hours and double as ice packs for your cooler.
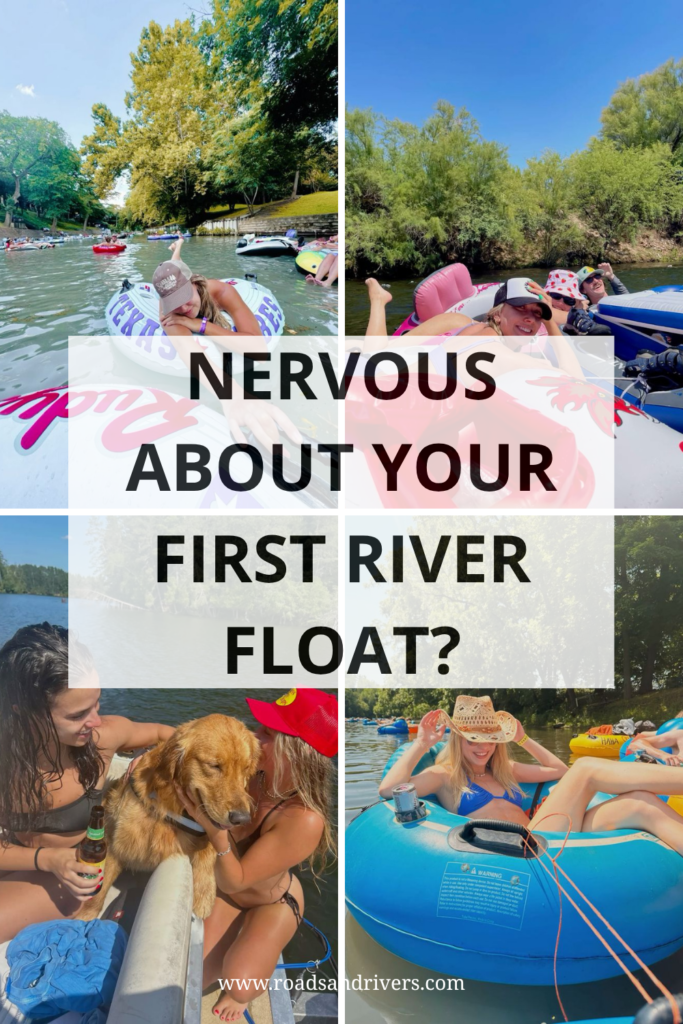
Nervous About Your First River Float? Read This.
I was terrified before my first float. Not of drowning or rapids or anything dramatic. I was nervous about looking stupid. What if I couldn’t get on the tube? What if I fell off in front of everyone? What if I didn’t know what I was doing and everyone could tell?
Here’s the truth: nobody knows what they’re doing on their first float. And nobody cares. River tubing is the most forgiving outdoor activity there is. You can’t do it wrong. You sit. You float. The river does the work. If you fall off, you get back on. If you spin backwards, you spin backwards. If you get stuck on a rock, you push off and keep going.
The best way to ease first-timer nerves is to float with a group that includes at least one person who’s done it before. They’ll show you the basics: how to get on the tube without flipping, how to use your feet to steer away from obstacles, and how to position yourself so the current carries you without effort. If you don’t know anyone experienced, book through a local outfitter. They’ll give you a safety briefing, handle the logistics, and often provide a guide who knows the river.
Start with a short float (1-2 hours) on a calm river. You can always do a longer, wilder route next time. The first float is about getting comfortable, and once you are, you’ll be hooked.
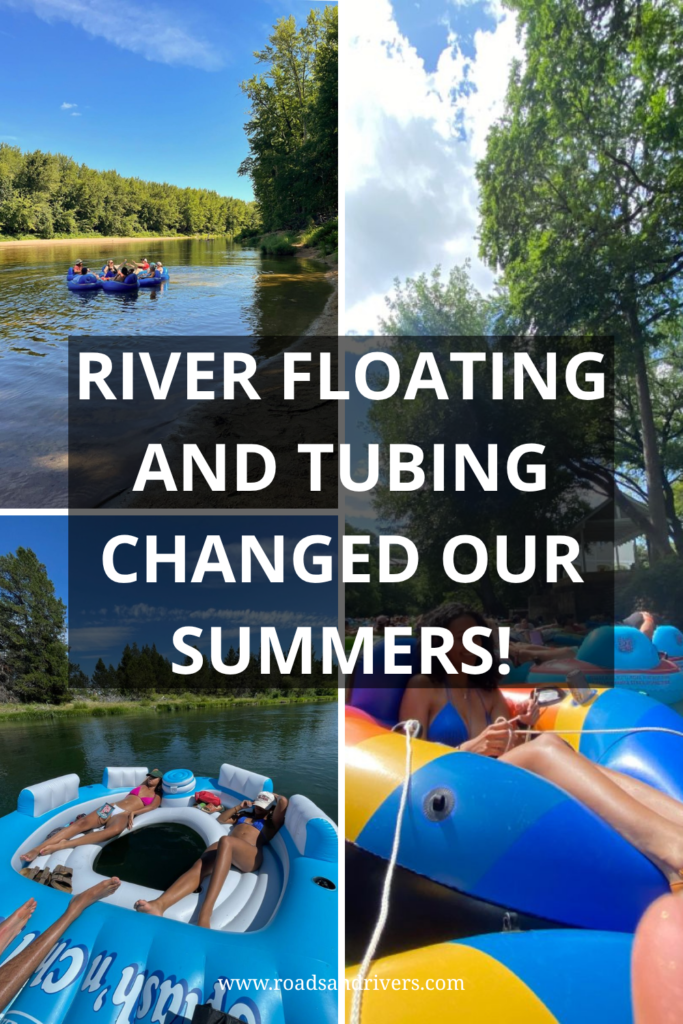
How River Floating and Tubing Changed Our Summers
Before we found river floating, our summer weekends looked the same: crowded beaches, overpriced water parks, or sitting at home waiting for the heat to break. Then a friend invited us on a float trip, and everything changed.
River floating costs almost nothing once you own a tube (good ones run $25-$60). There are no tickets, no reservations (on most rivers), no dress code, and no schedule. You show up, inflate, float, and let the afternoon unfold. The conversation is better because there’s nothing else to do. The scenery is better because you’re gliding through spots you’d never see from a road. And the relaxation is better because the river literally forces you to slow down.
It became our default summer plan. Every weekend from June through September, somebody in our group would text “floating Saturday?” and that was all it took. We tried different rivers, experimented with gear (the floating cooler was a turning point), and eventually got good enough to help first-timers who were as nervous as we once were.
If you’re looking for a summer activity that’s cheap, social, endlessly repeatable, and doesn’t require any athletic talent, river floating and tubing is it. It will change how you think about weekends.
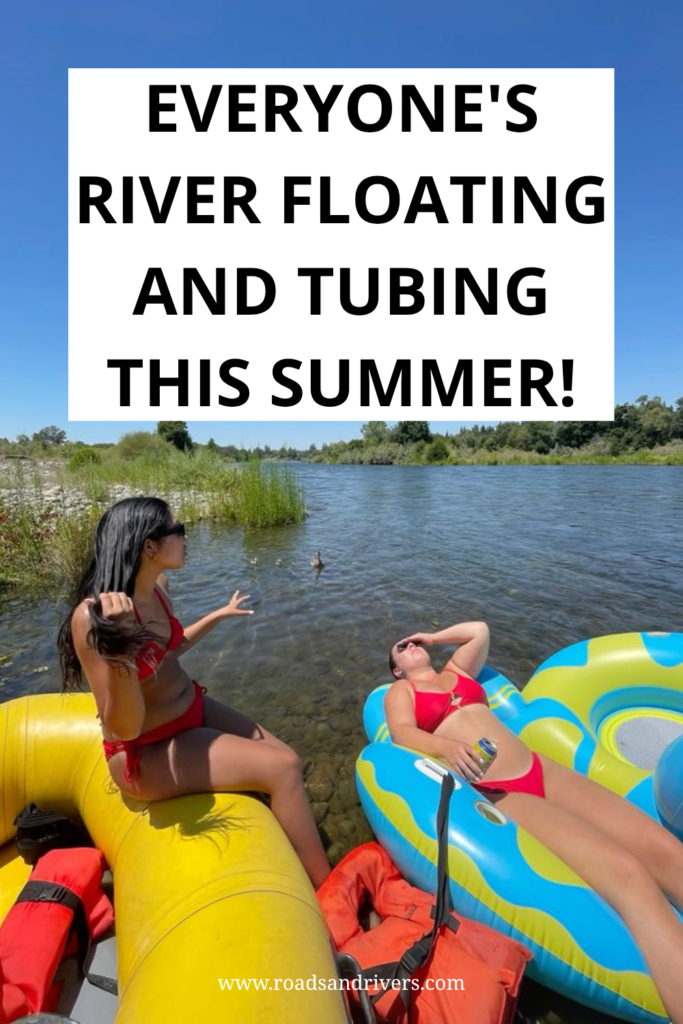
Everyone’s River Floating and Tubing This Summer (Here’s Why)
River tubing has exploded in popularity in the last few years, and it’s not hard to see why. It checks every box for what people want from a summer activity: it’s outdoors, it’s social, it’s affordable, it’s low-effort, and it’s endlessly Instagrammable. Unlike hiking or camping, there’s virtually no learning curve. Unlike beaches or pools, you get a constantly changing view and the feeling of actual adventure.
The beauty of tubing is how customizable it is. Want a chill, two-hour lazy river drift with your partner? Done. Want a full-day float with 12 friends, a floating cooler, a speaker blasting music, and a stop at a rope swing? Also done. Want to bring the kids and the dog for a gentle family float? You can do that too (yes, dogs can float, and they usually love it).
You don’t need a boat, a lake house, or a vacation budget. You need a tube, a river, and a sunny day. That’s the whole pitch.
Pro tip: Midweek floats are the move if you can swing it. Weekend crowds on popular rivers can get intense, especially in July and August. A Tuesday float feels like you have the whole river to yourself.
Key Takeaways
- Start on a calm, Class I river with clear entry and exit points. Check water levels before you go.
- Invest in a real river tube, not a pool float. Thick material, handles, and a mesh bottom are worth the extra $20.
- Sunscreen, water shoes, life jacket, dry bag. These four items prevent 90% of first-timer problems.
- Tether your group together with short ropes or clips. The river will separate you otherwise.
- Hydrate more than you think you need. The sun-and-water combo dehydrates you fast, even when you don’t feel thirsty.
- Start short. A 1-2 hour float on your first outing builds confidence without overwhelming you.
Float Days Are Waiting for You
The best part about river floating and tubing is how little stands between you and your first trip. A tube, some sunscreen, a group of friends, and a river. That’s the whole barrier to entry for what will probably become your favorite summer tradition.
Stop planning. Start floating. The river is right there.
Got a favorite float spot or a first-timer story? Drop it in the comments. We’re always adding new rivers to our list.
FAQ
What should I wear for river tubing?
Wear a swimsuit or quick-dry synthetic clothing. Avoid cotton entirely because it absorbs water and stays cold. Water shoes or sport sandals with secure straps are a must since you’ll be walking on rocks at entry and exit points. A long-sleeve rash guard is great for sun protection without constant sunscreen reapplication.
How long does a typical river tubing trip last?
Most beginner-friendly float routes take between 2 and 4 hours, depending on the river’s current speed and the length of the route. Shorter 1-2 hour floats are perfect for first-timers. Always add extra time to online estimates because rivers are often slower than expected, and you’ll want to stop and swim along the way.
Do I need to know how to swim to go river tubing?
Basic swimming ability is recommended, but you don’t need to be a strong swimmer for calm, Class I river tubing. A properly fitted life jacket keeps you buoyant if you fall off your tube. That said, anyone who is not a confident swimmer should always wear a life jacket and stick to calm, shallow rivers with a group.
What’s the difference between river tubing and tubing on the lake?
River tubing uses the natural current to carry you downstream. You float from point A to point B without paddling. Tubing on the lake is more stationary since there’s no current, so you’re floating in place or paddling around. River tubing is the more adventurous option with changing scenery, while lake tubing is purely relaxation focused.
Can I bring my dog river tubing?
Many rivers allow dogs, and plenty of dogs love floating. Put your dog in a properly fitted canine life jacket, keep them tethered to your tube or raft, and make sure the river conditions are calm enough that they won’t panic. Not all dogs take to water, so test their comfort in shallow water first. Check local rules since some rivers restrict pets during peak season.